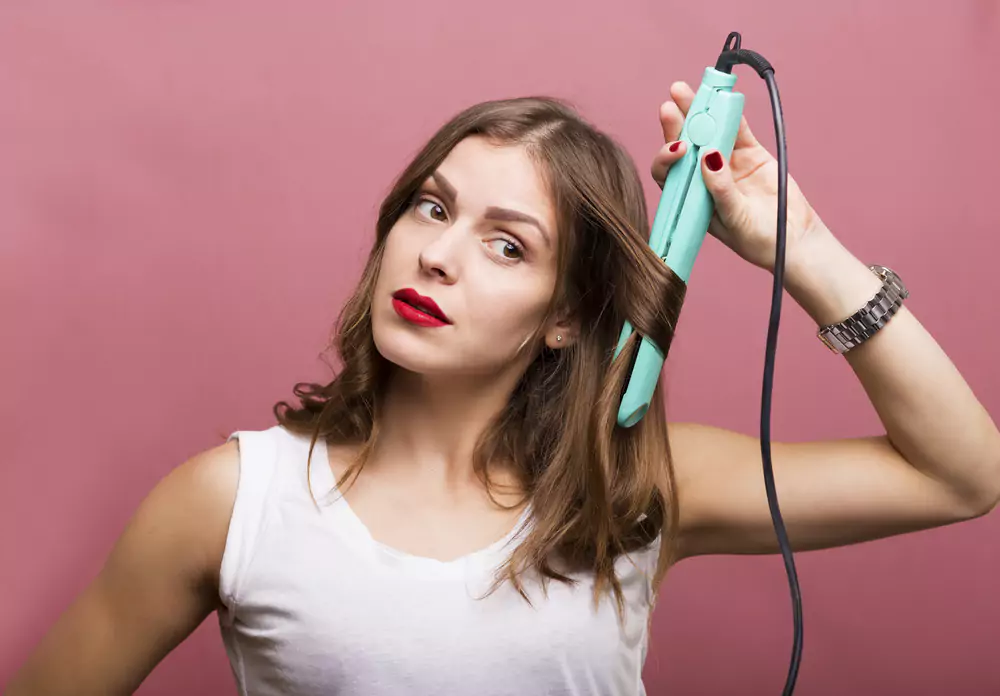
How to Curl Your Hair with a Straightener
Are you looking to add some waves to your locks without a curling iron in sight? Learn how to curl your hair with a straightener, a versatile styling tool that can give you everything from tight spirals to luxurious waves. This clever technique not only saves you the trouble of buying additional equipment but also opens up a world of styling possibilities.
Whether you’re preparing for a special occasion or want to switch up your look, our guide on curling your hair with a straightener will take you through the steps to achieve those perfect curls with ease.
What To Know Before Curling Your Hair With A Flat Iron?
Here are some considerations you need to know before using any straightener to curl your hair:
Understanding Your Tool: The Flat Iron Basics
Before you begin, you must know the type of flat iron you have. The size and material of the plates can affect the outcome of your curls. Smaller plates are typically better for tighter curls, while wider plates can create loose waves.
Heat Matters: Setting the Right Temperature
Different hair types require different heat settings. Fine hair needs a lower temperature to avoid damage, whereas thicker hair may require a higher setting to achieve the desired effect. Always start lower and increase as needed.
Prep and Protect: Hair Health First
Using a heat protectant before you start is crucial to shield your hair from potential heat damage. Ensure your hair is dry and tangle-free to get smooth curls.
Technique and Practice: Finding the Right Motion
How you hold the flat iron and the angle at which you twist it will determine the curl’s shape and bounce. Practice the wrist motion to master the technique.
Section and Conquer: Organize Your Hair
Dividing your hair into sections can make the process more manageable and ensure even curls—smaller sections for tighter curls and larger ones for waves.
Aftercare: Making Your Curls Last
Once you’ve achieved your curls, let them cool before applying any finishing products. Use hairspray to hold the curls in place and a serum or oil for added shine and to reduce frizz.
How To Prep Your Hair For Using A Flat Iron?
To prep your hair before curling, follow the steps mentioned below:
Step 1: Clean and Condition
Wash your hair with a shampoo and conditioner tailored to your hair type. Starting with clean hair ensures your straightener glides smoothly and doesn’t trap any dirt or product residue.
Step 2: Dry Hair Thoroughly
Towel-dry hair gently, then use a blow-dryer if necessary. Ensure your hair is completely dry to avoid damage and to achieve the best results with the flat iron.
Step 3: Apply Heat Protectant
Spritz a quality heat protectant evenly throughout your hair, concentrating on the ends. This step is crucial to minimize heat damage during the straightening process.
Step 4: Detangle and Section
Brush out any knots with a wide-tooth comb for tangle-free hair. Divide your hair into sections using clips. Smaller sections allow for more precise straightening.
Step 5: Choose the Appropriate Heat Setting
Select a heat setting appropriate for your hair type—lower temperatures for fine or damaged hair and higher for thicker hair. Always start with a lower heat to test your hair’s reaction.
A Five-Step Guide To Curling Hair With A Hair Straightener
Curling hair with a straightener is easy. Follow the five simple steps mentioned below to curl your hair in a few minutes:
Step 1: Prep Your Hair
Start with dry, smooth hair. Apply a heat protectant evenly to shield your hair from potential heat damage, and if your hair is prone to frizz, a smoothing serum can help.
Step 2: Section Your Hair
Divide your hair into manageable sections. Smaller sections for tighter curls, larger ones for waves. Secure each section with clips, leaving the bottom layer to work on first.
Step 3: Set the Temperature
Adjust your straightener to the correct temperature for your hair type. Fine hair needs a lower setting, while coarse or thick hair may require more heat.
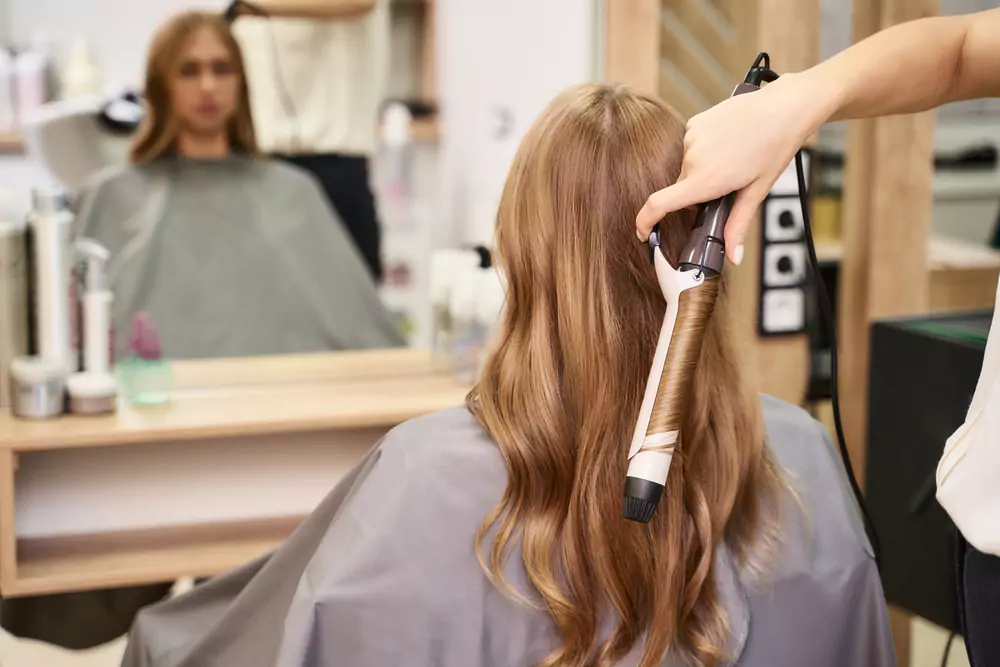
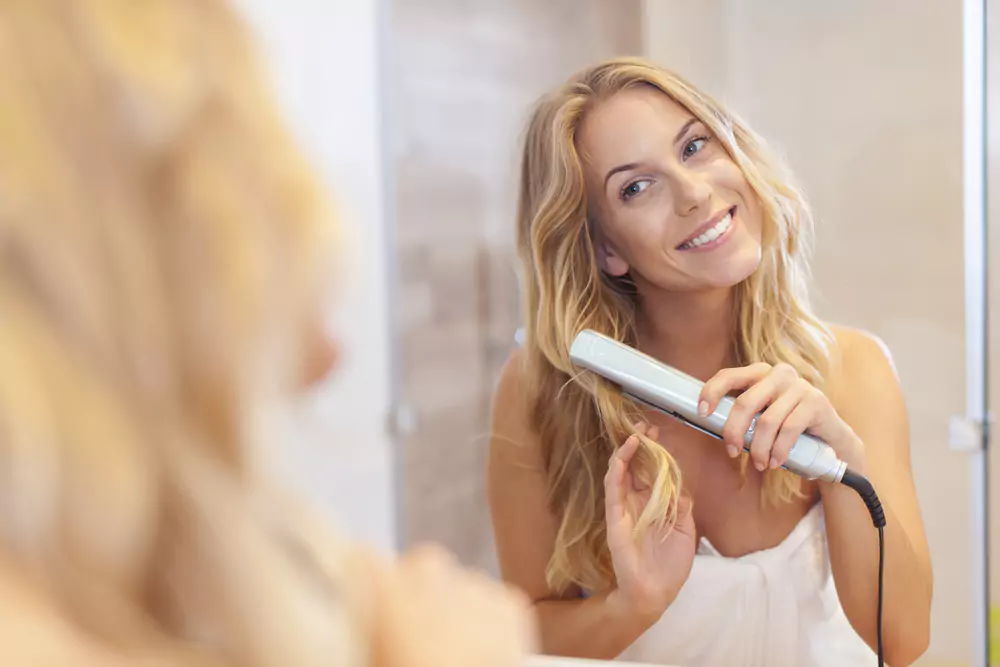
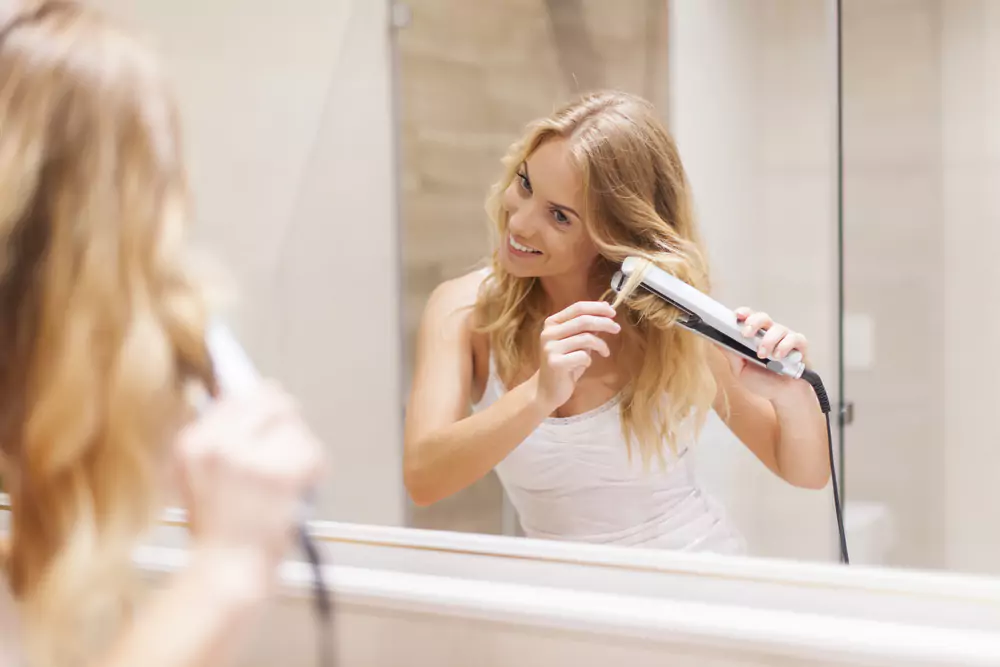
Step 4: Curling Technique
Clamp a small section of hair with the straightener about an inch away from the roots. Twist the straightener away from your face and gently pull it down the length of your hair, creating the curl.
Step 5: Finish and Set
Let the curls cool before touching them to set the shape. Once cooled, you can gently run your fingers through your hair for a looser wave or leave them tight. Finish with a spritz of hairspray to hold your new curls in place.
How To Curl Short Hair With A Flat Iron?
Creating curls on short hair with a flat iron can transform your look in just a few minutes. Here’s a simple three-step method to achieve playful curls or soft waves, even with shorter lengths.
Step 1: Heat Up and Section
Warm up your flat iron to the appropriate temperature for your hair type. Section off your hair into manageable parts, pinning up the top layers and leaving the bottom layer free.
Step 2: Twist and Slide
Take small sections of hair, clamp the flat iron near the roots, and twist it 180 degrees. Slowly slide the iron down the hair shaft as you hold the twist. This creates a ribbon-like curl.
Step 3: Cool and Style
Allow the curls to cool down so they can set properly. Once cooled, use your fingers or a hair pick to style and place the curls gently. Finish with a light-hold hairspray to maintain the bounce and shape of your new curls.
Tips And Tricks For Locking In Style
Achieving the perfect curls with a straightener is only half the battle; the real challenge lies in making them last. Here are five tips and tricks to lock in that style and keep your curls looking fabulous all day long.
Let Curls Cool
Resist the urge to touch your curls after shaping them. Let them cool completely; this sets the curl and helps it last longer. You can even clip the curls loosely to your head to help them set as they cool.
Use the Right Products
Apply a lightweight hairspray or a styling mousse after curling. These products can give your hair extra hold without weighing down your curls, keeping them bouncy and voluminous.
Avoid Humidity
Stay away from moisture and humidity as much as possible, as they can cause curls to drop. If you live in a humid area, use an anti-humidity hairspray or serum to help combat the effects.
Touch Up Smartly
If your curls do start to fall, use your straightener to quickly touch up the most visible pieces instead of redoing your entire head, which can save time and reduce heat exposure.
Overnight Preservation
To preserve your curls overnight, consider sleeping on a silk pillowcase or loosely tying your hair with a silk scarf. This reduces friction and helps maintain your style for the next day.
Conclusion
In conclusion, curling your hair with a straightener is a skill that, once mastered, can elevate your styling capabilities to new heights. With the right technique, a bit of practice, and by following the essential steps outlined, you’ll find that your trusty straightener is indeed a multifaceted tool capable of creating an array of stunning, long-lasting curls.
Whether aiming for tight ringlets or loose waves, the versatility and convenience of using one tool for multiple styles make it a must-try method for anyone looking to enhance their hair game.